Prerequisites
Before creating a workflow, ensure you have:- ✅ At least one test created
- ✅ Tests are in a working state (not broken)
- ✅ Access to the Workflows page
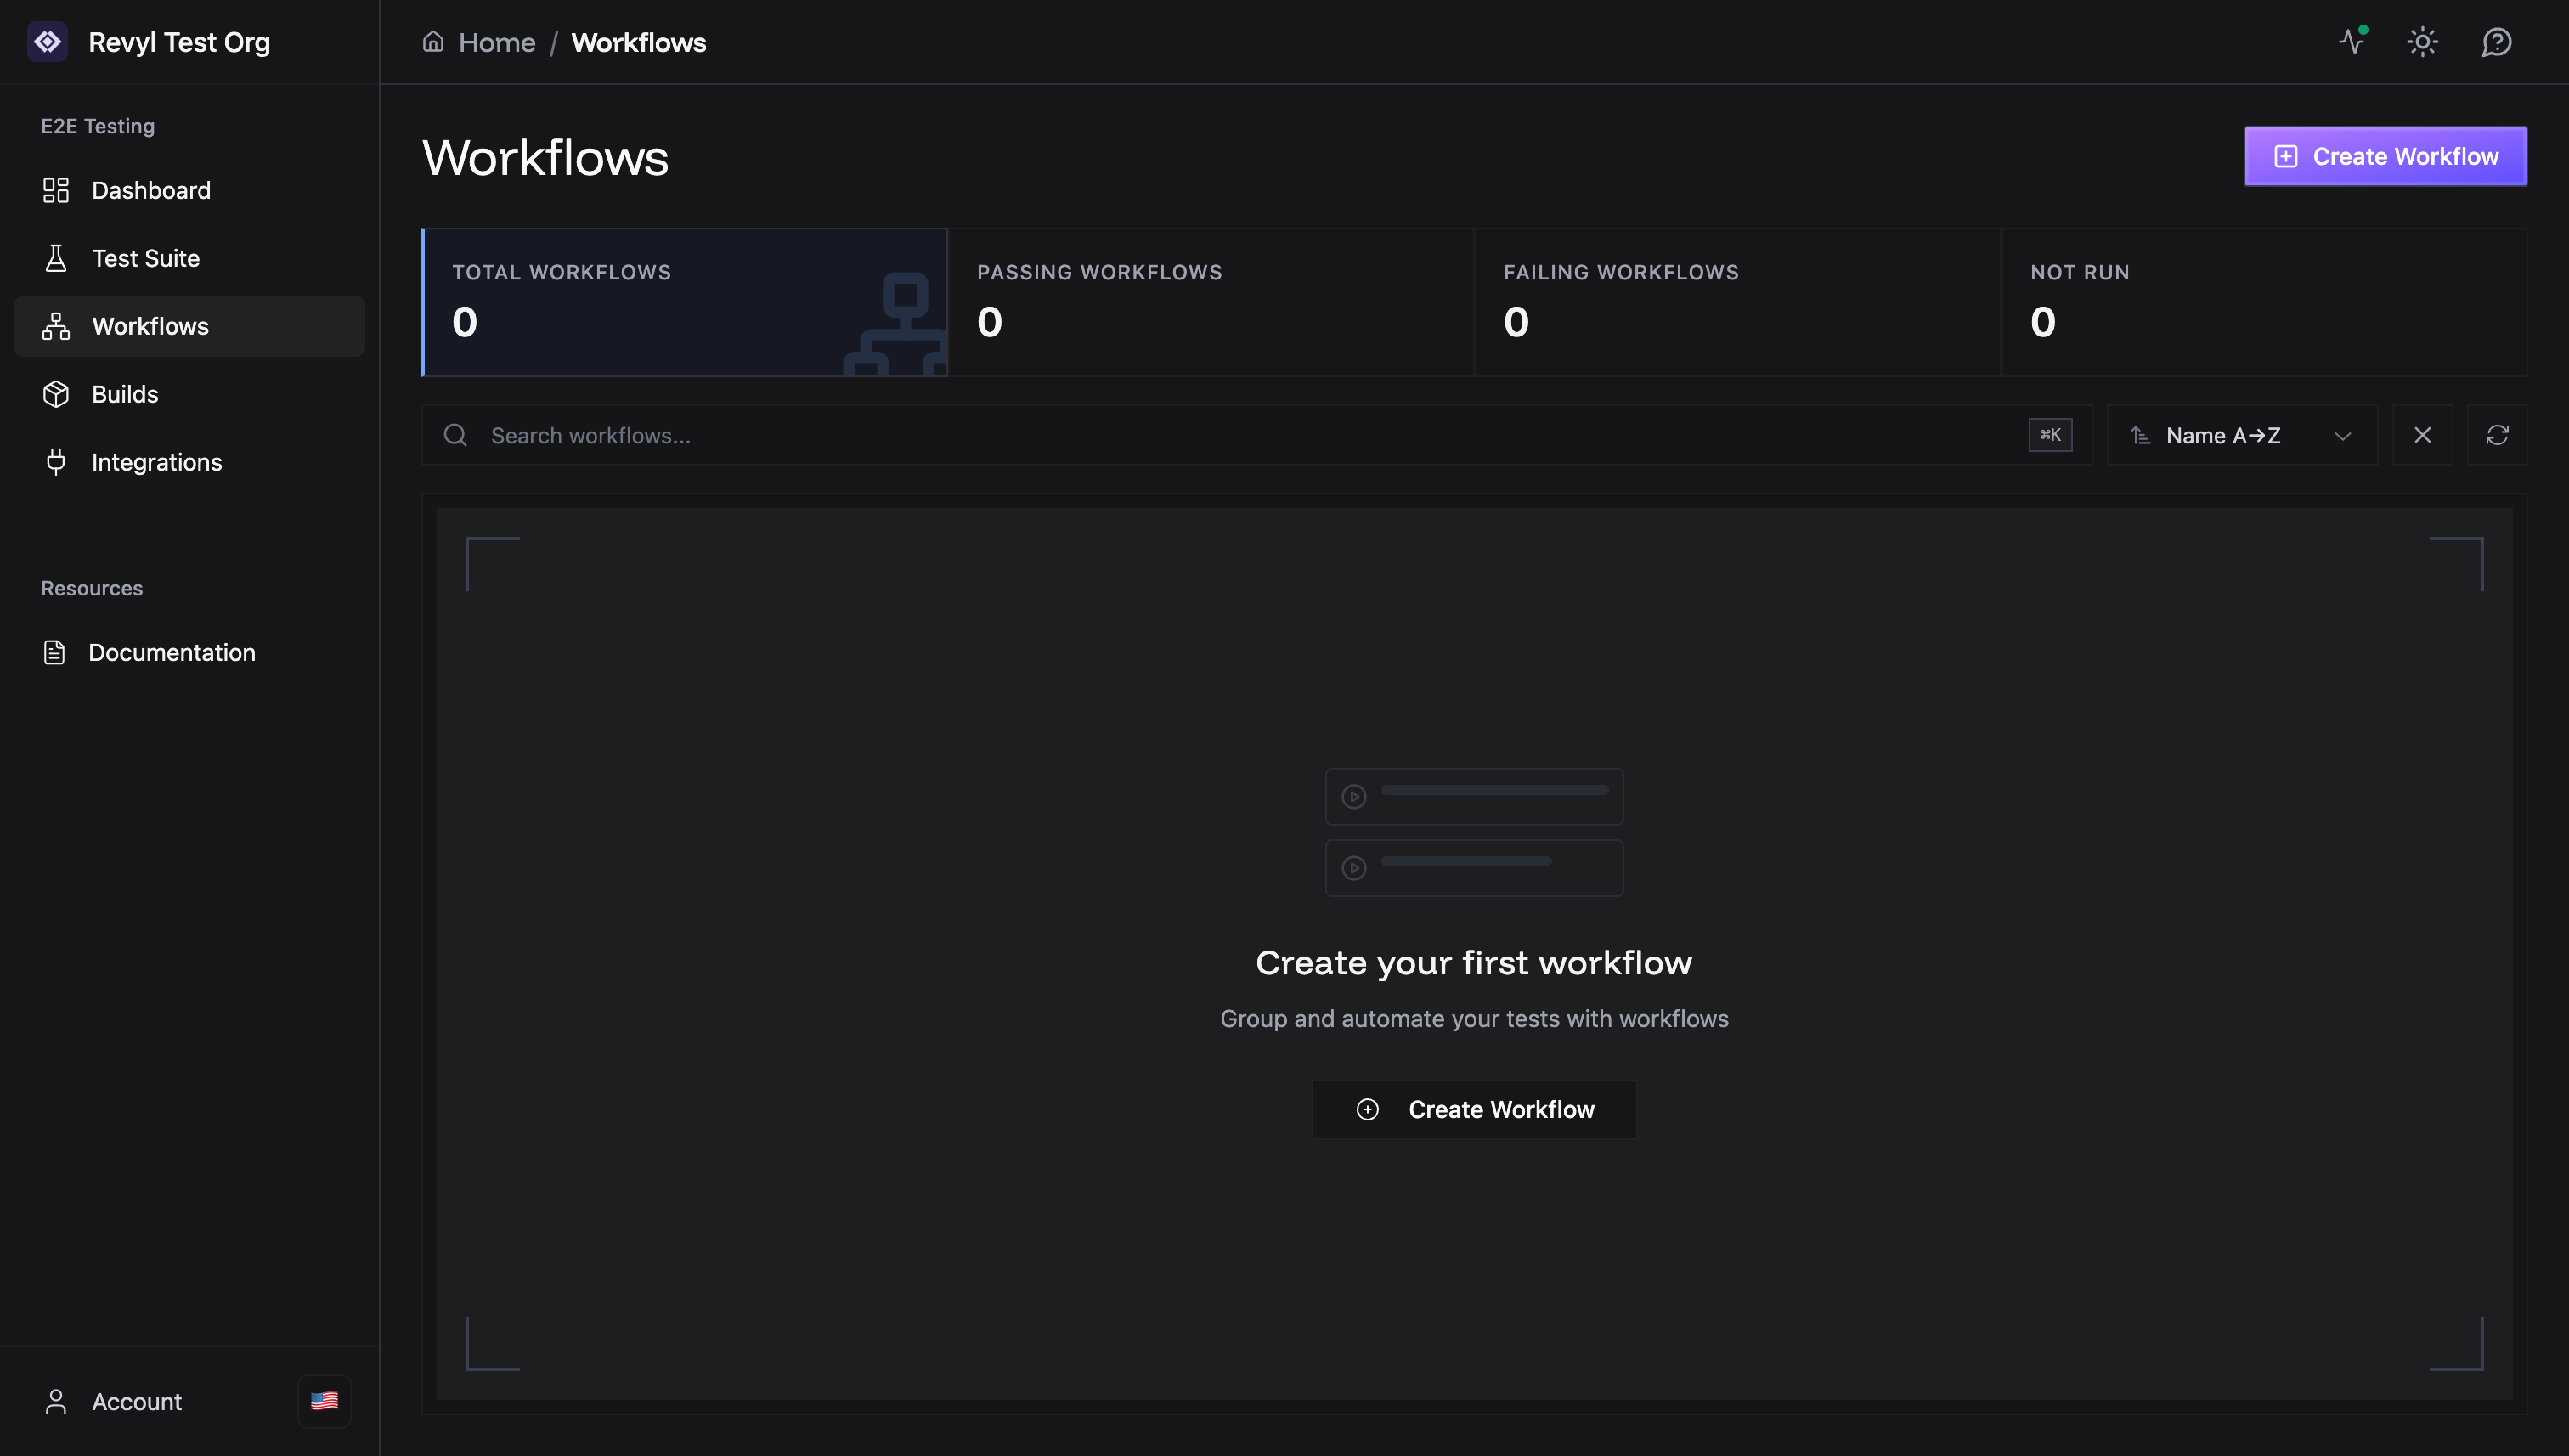
Step 1: Navigate to Workflows
- Click Workflows in the sidebar
- You’ll see the Workflows page
Step 2: Open the Create Workflow Dialog
Click the Create Workflow button (either in the empty state or in the top-right corner). The “Create New Workflow” dialog will appear: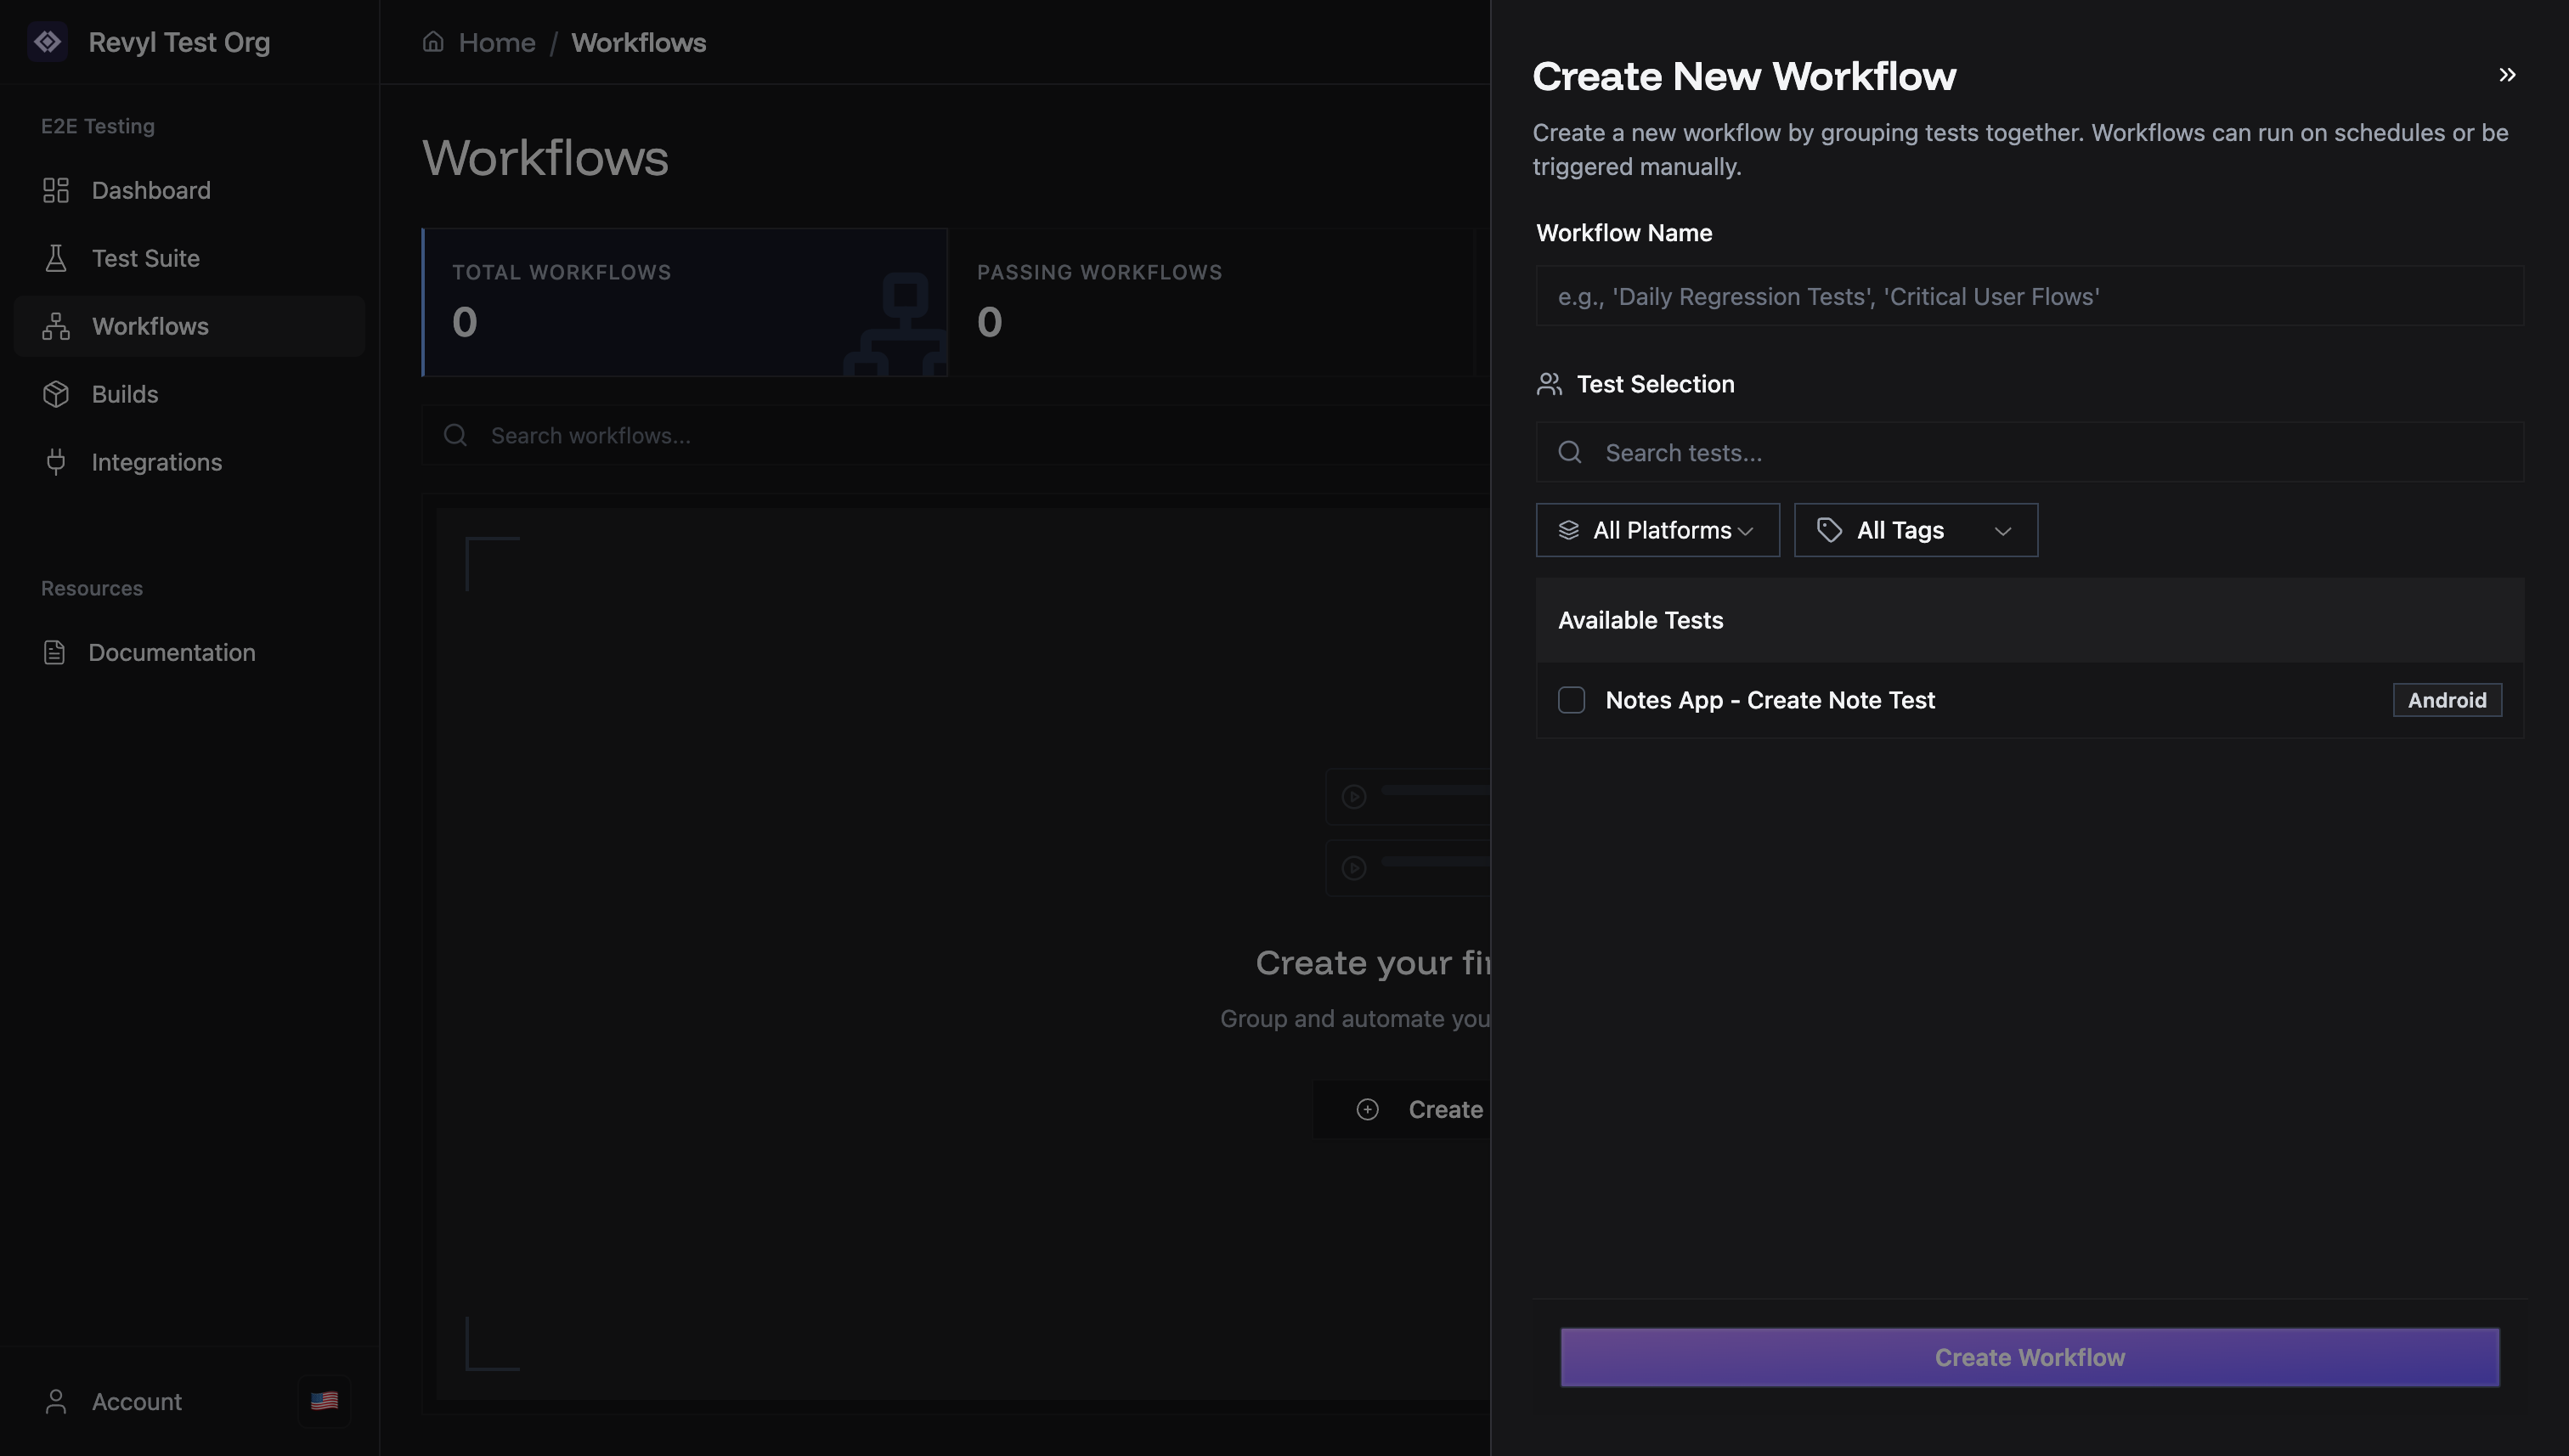
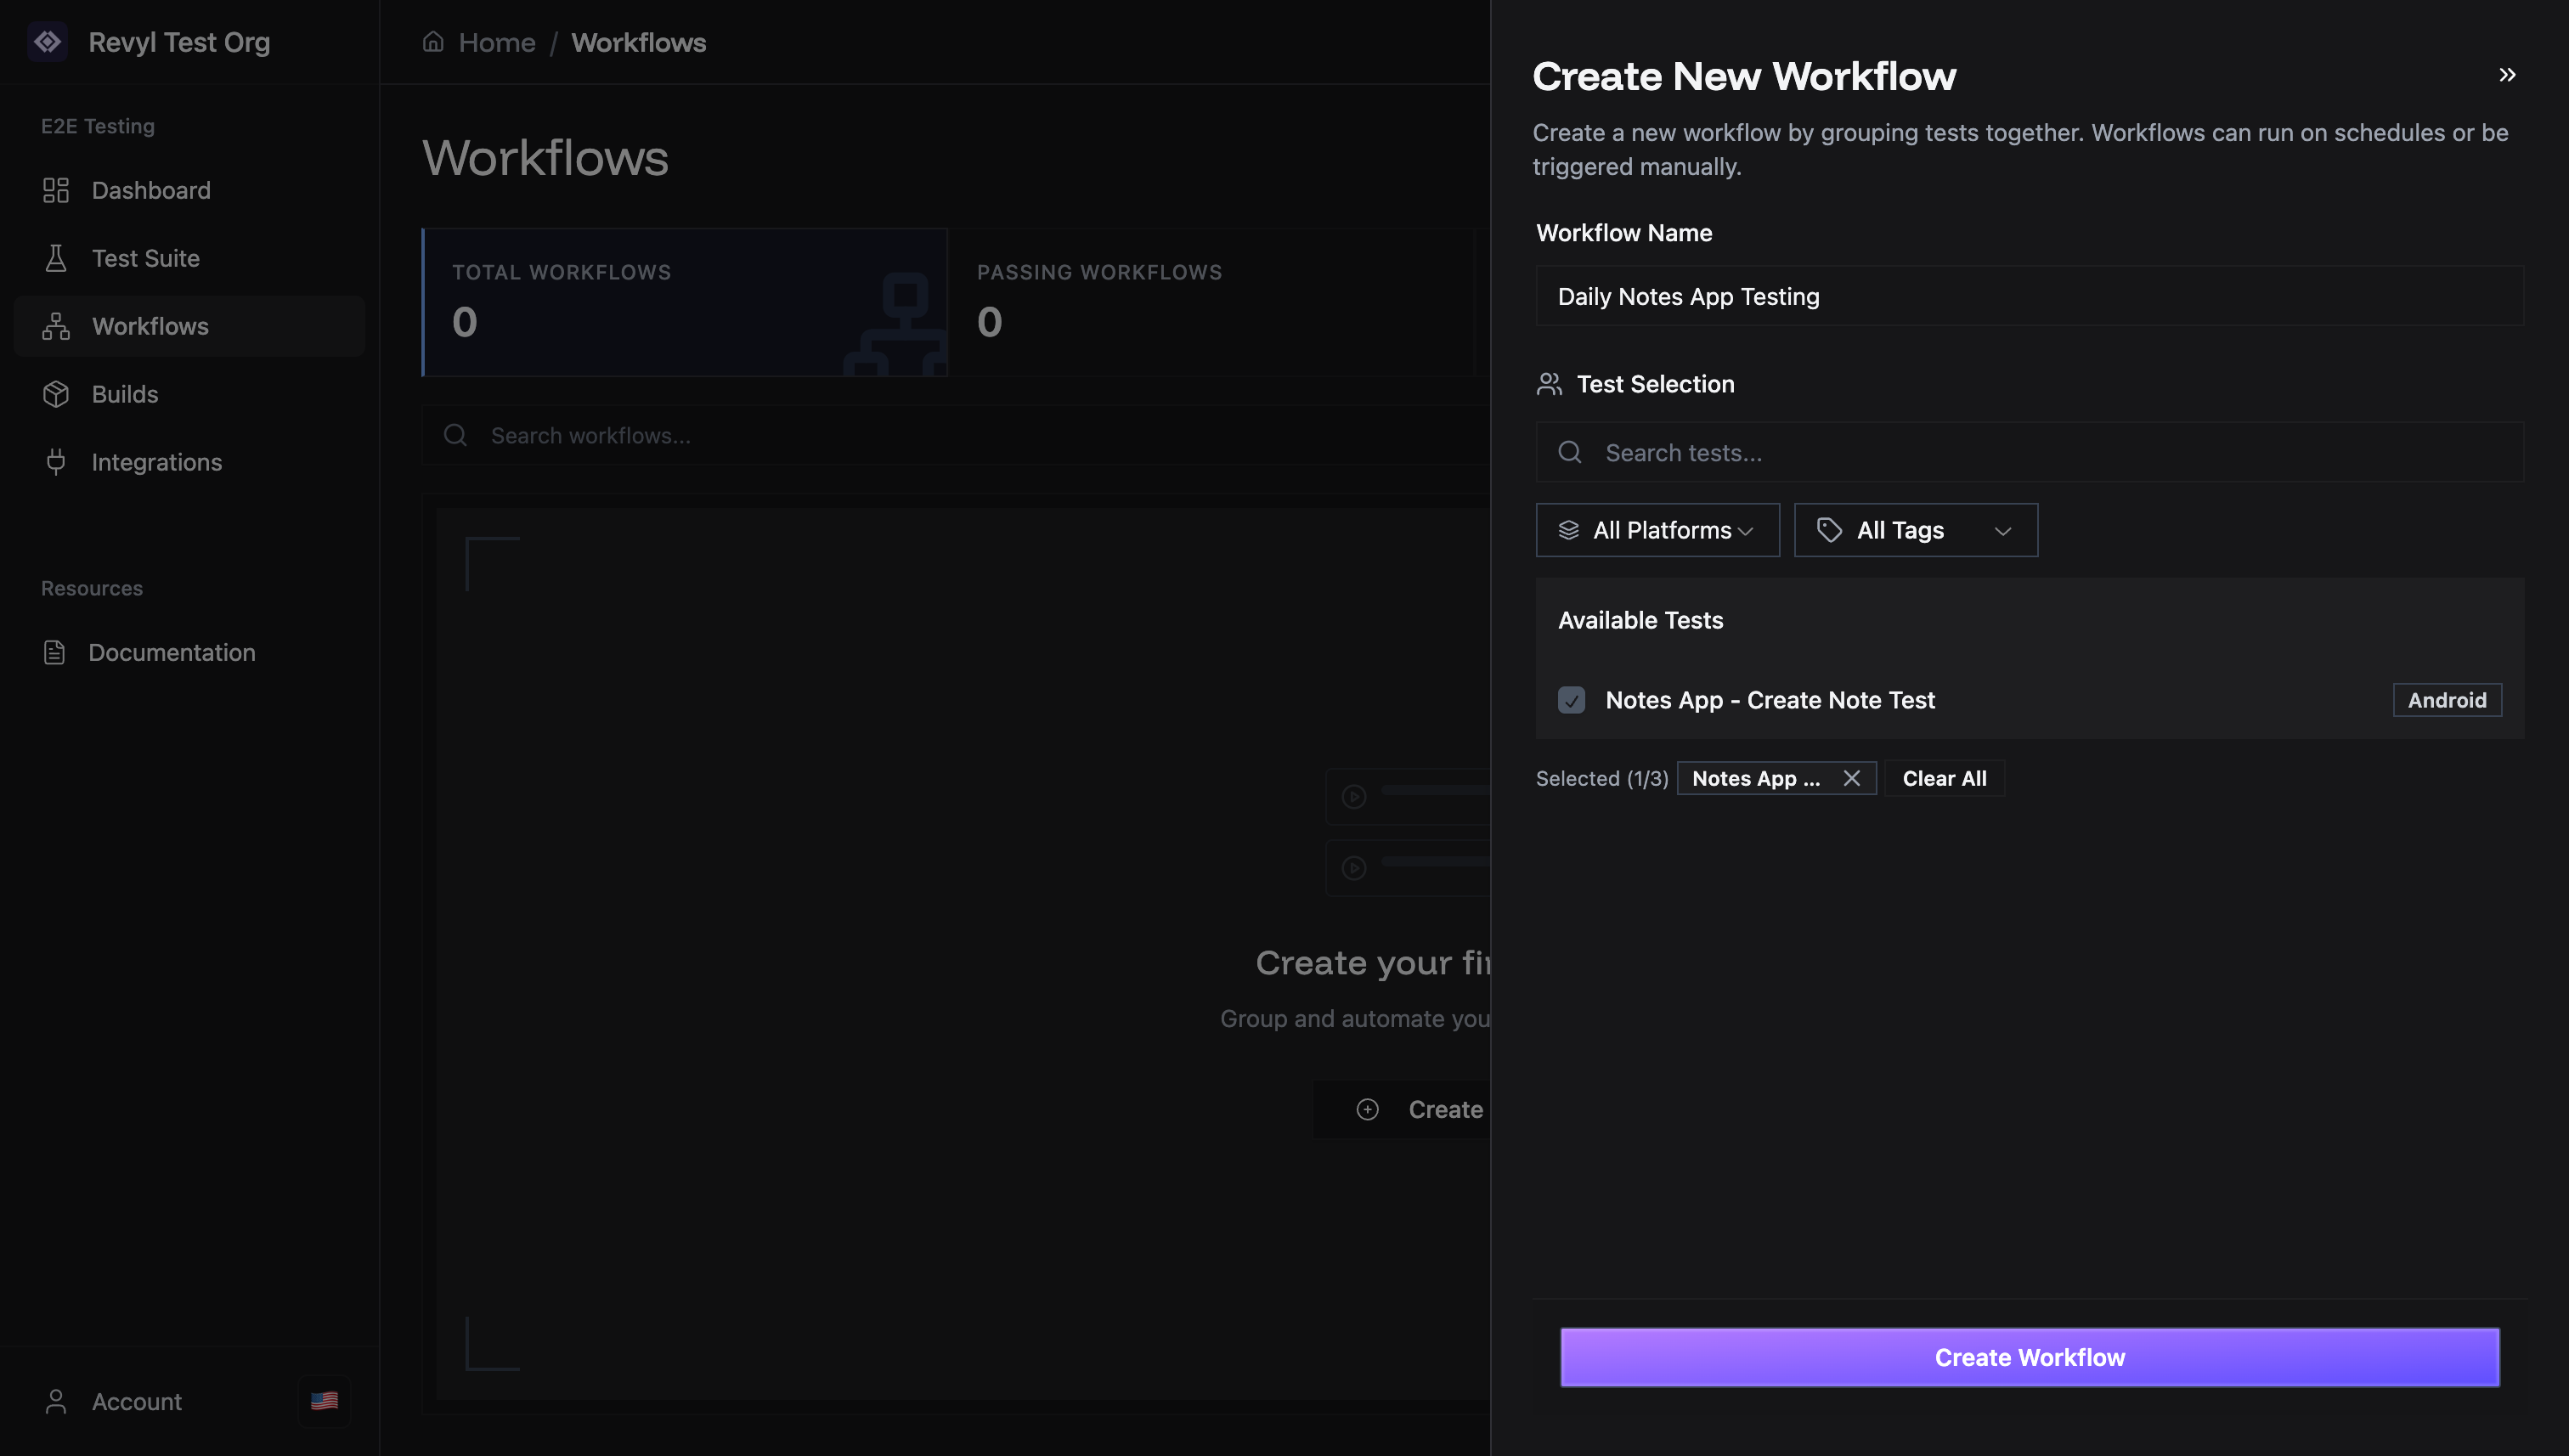
Step 3: Name Your Workflow
Enter a descriptive name in the Workflow Name field.Naming Best Practices
Good names:- ✅ “Daily Notes App Testing”
- ✅ “Smoke Tests - Android”
- ✅ “Critical User Flows”
- ✅ “Pre-Release Regression”
- ❌ “Workflow 1”
- ❌ “Test”
- ❌ “My Workflow”
Step 4: Select Tests
The dialog shows a Test Selection section with:- Search box - Find tests by name
- Platform filter - Filter by Android or iOS
- Tags filter - Filter by test tags (if you’ve added any)
- Available Tests list - All tests matching your filters
Selecting Tests
- Browse the Available Tests list
- Check the checkbox next to each test you want to include
- Selected tests appear at the bottom with a count (e.g., “Selected (1/3)“)
Test Selection Tips
- You can select tests from different platforms (Android and iOS)
- You can select tests using different builds
- Use the search box to quickly find tests by name
- Selected tests show a checkmark ✓
- Click Clear All to deselect all tests
How Many Tests to Include?
Small Workflows (1-3 tests)
Small Workflows (1-3 tests)
Best for:
- Smoke tests
- Critical path validation
- Quick sanity checks
Standard Workflows (3-10 tests)
Standard Workflows (3-10 tests)
Best for: - Feature-specific testing - Platform-specific regression -
Daily automated runs
Large Workflows (10+ tests)
Large Workflows (10+ tests)
Best for:
- Full regression suites
- Pre-release validation
- Weekly comprehensive testing
Step 5: Create the Workflow
Once you’ve:- ✅ Entered a workflow name
- ✅ Selected at least one test
Step 6: Success!
You’ll see a success notification and be redirected to the Workflows page. Your new workflow will appear in the list: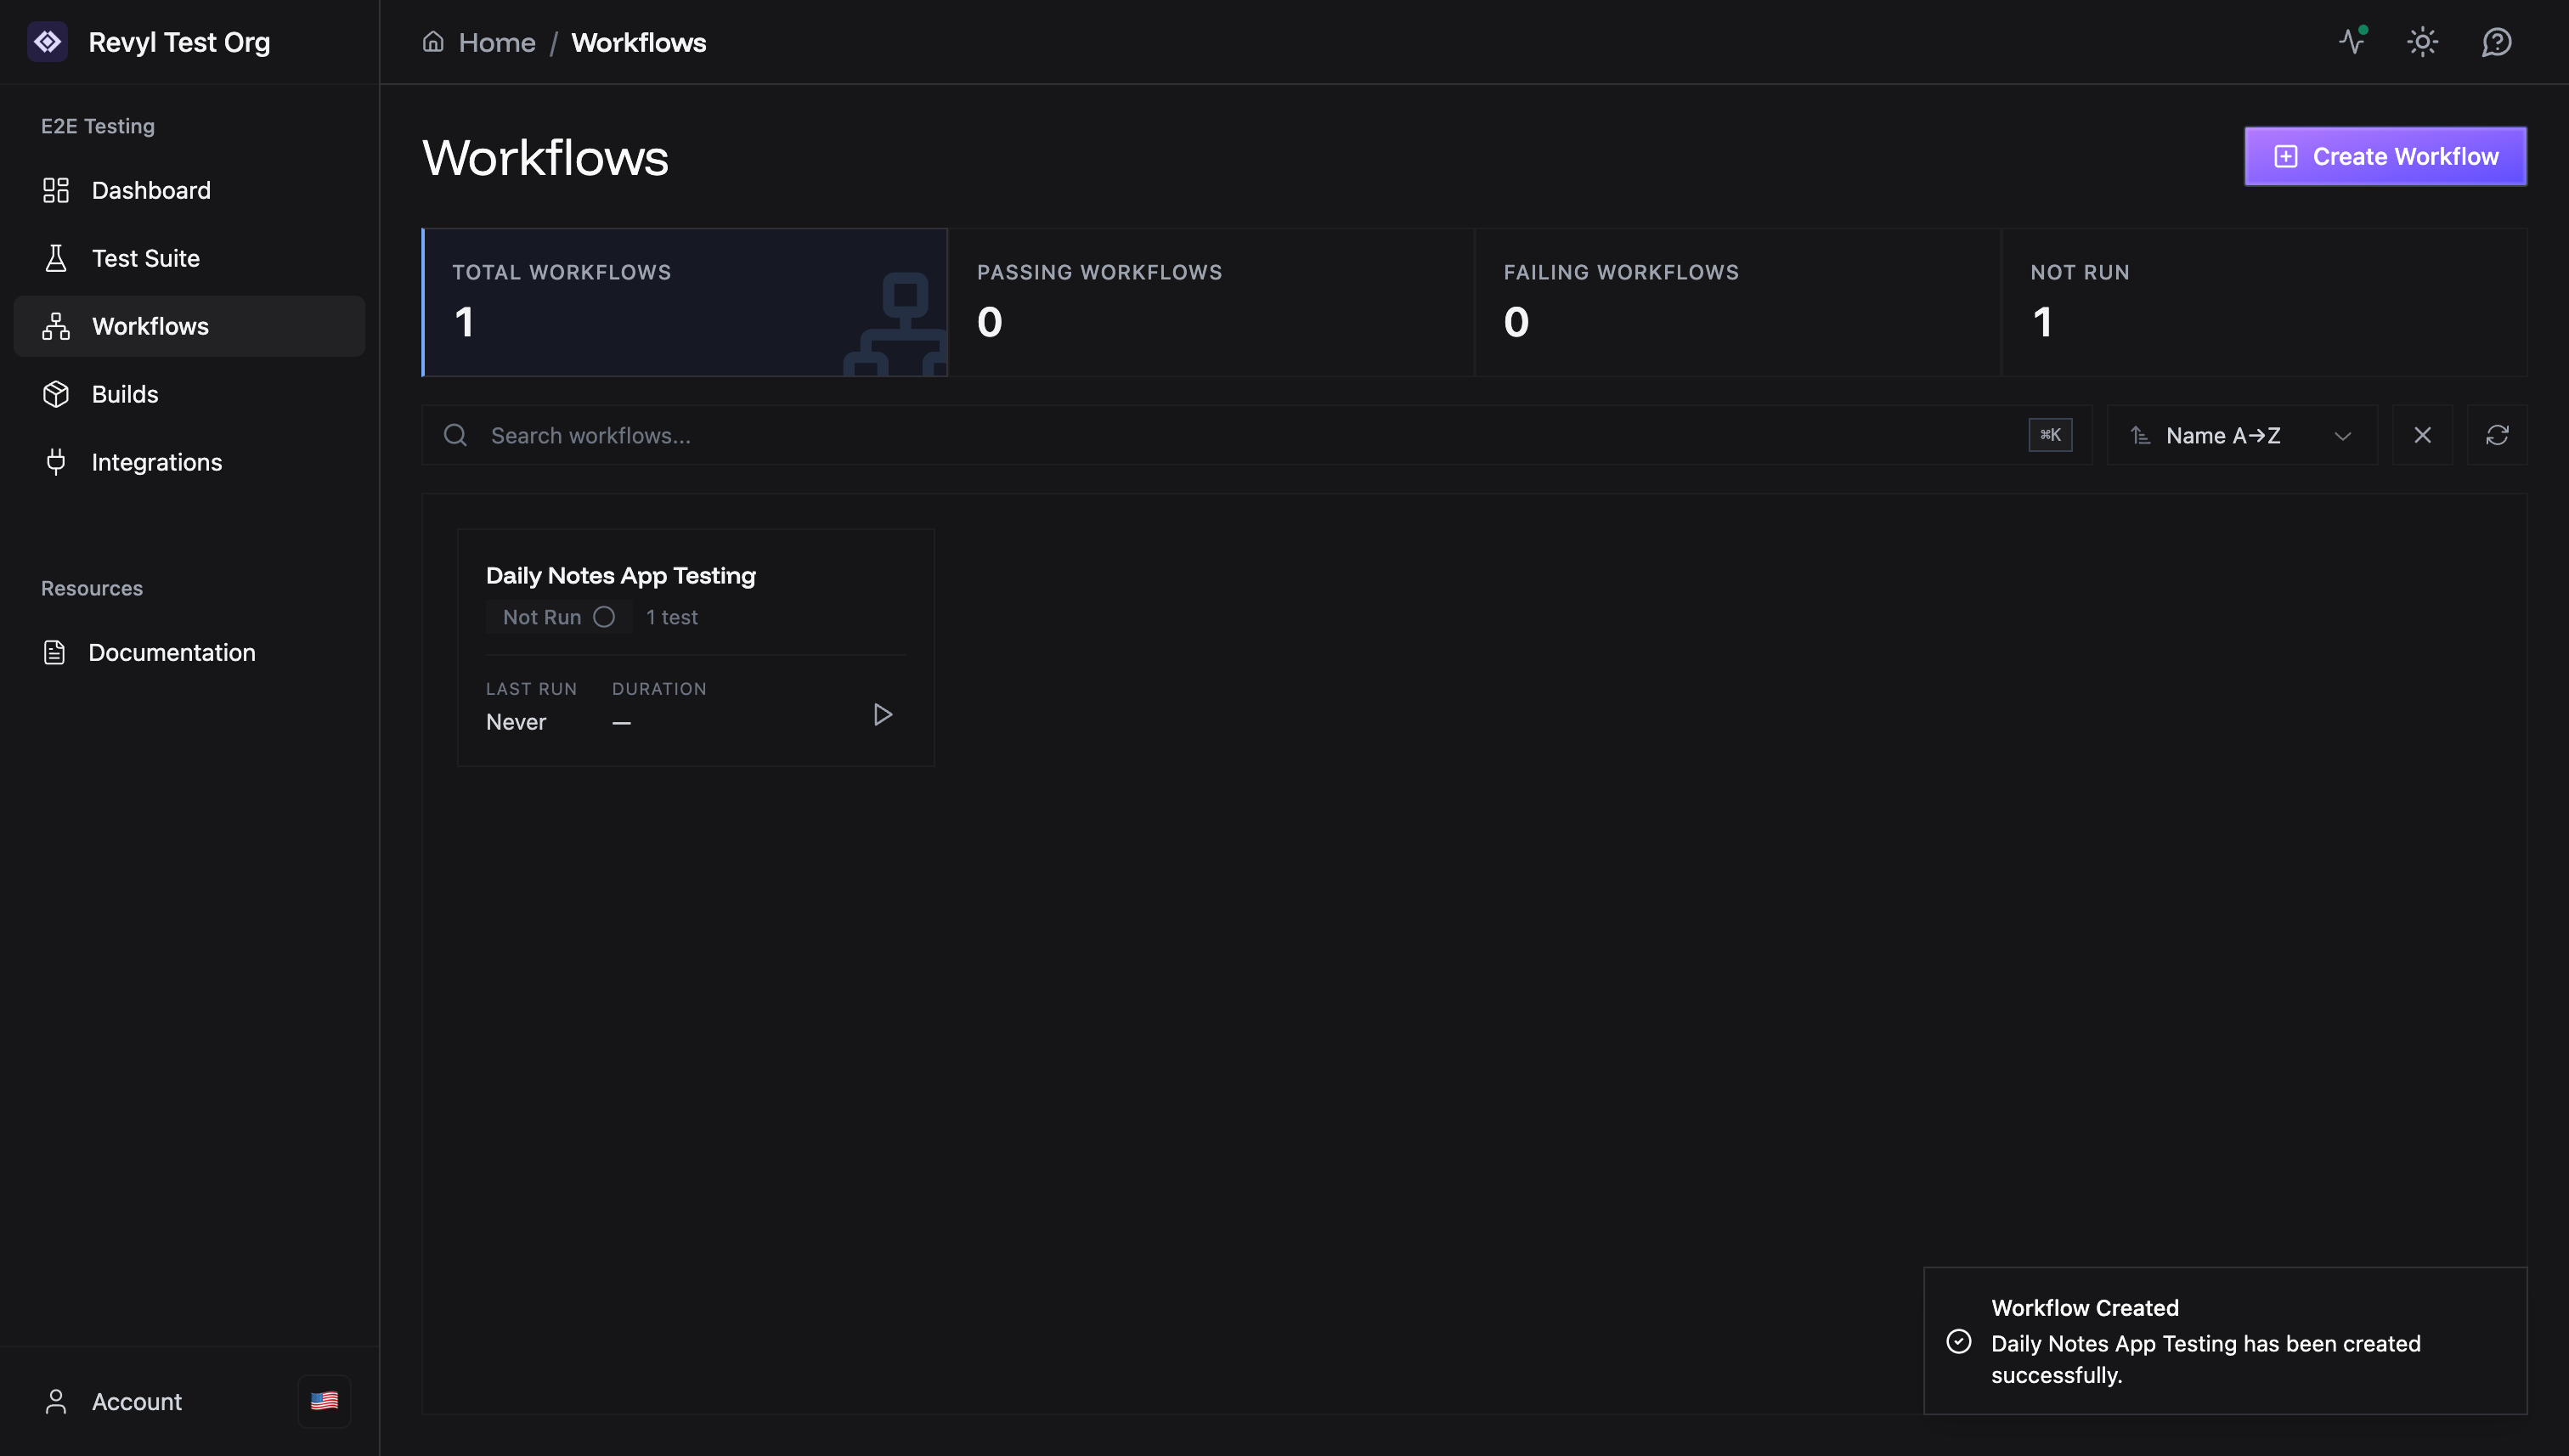
- Workflow name
- Status: “Not Run” (since it hasn’t been executed yet)
- Test count: e.g., “1 test”
- Last run: “Never”
- Duration: Not shown until the workflow has a completed run
What Happens Next?
After creating a workflow, you can:1. Run It Immediately
Click the Run button (▶) on the workflow card to execute it right away.2. Configure It
Click the workflow card to open the details page where you can:- Add or remove tests
- View execution history
- Set up integrations
Next Steps
Configuring Workflows
Manage tests and settings in your workflow
Running Tests
Learn about test execution and monitoring
Test History
View past workflow runs and results
CI/CD Integration
Trigger workflows from your CI/CD pipeline
Need help? Contact [email protected]