Overview
Variables in Revyl use the Mustache syntax:{{variableName}}
When a test runs, Revyl replaces {{variableName}} with the actual value.
Common use cases:
- Login credentials (
{{username}},{{password}}) - API tokens and keys
- Dynamic data extracted during test execution
- Environment-specific values (URLs, IDs)
- Randomized test data
Accessing the Variables Panel
In the Test Editor, click the Variables tab at the top.
- Variables (count) - Number of variables defined
- Reference with
{{ name }}- Syntax reminder - Refresh button - Reload variable list
- Add button - Create new variables
Creating Variables
Step 1: Open Variable Creation
Click the Add button or Create Variable in the empty state.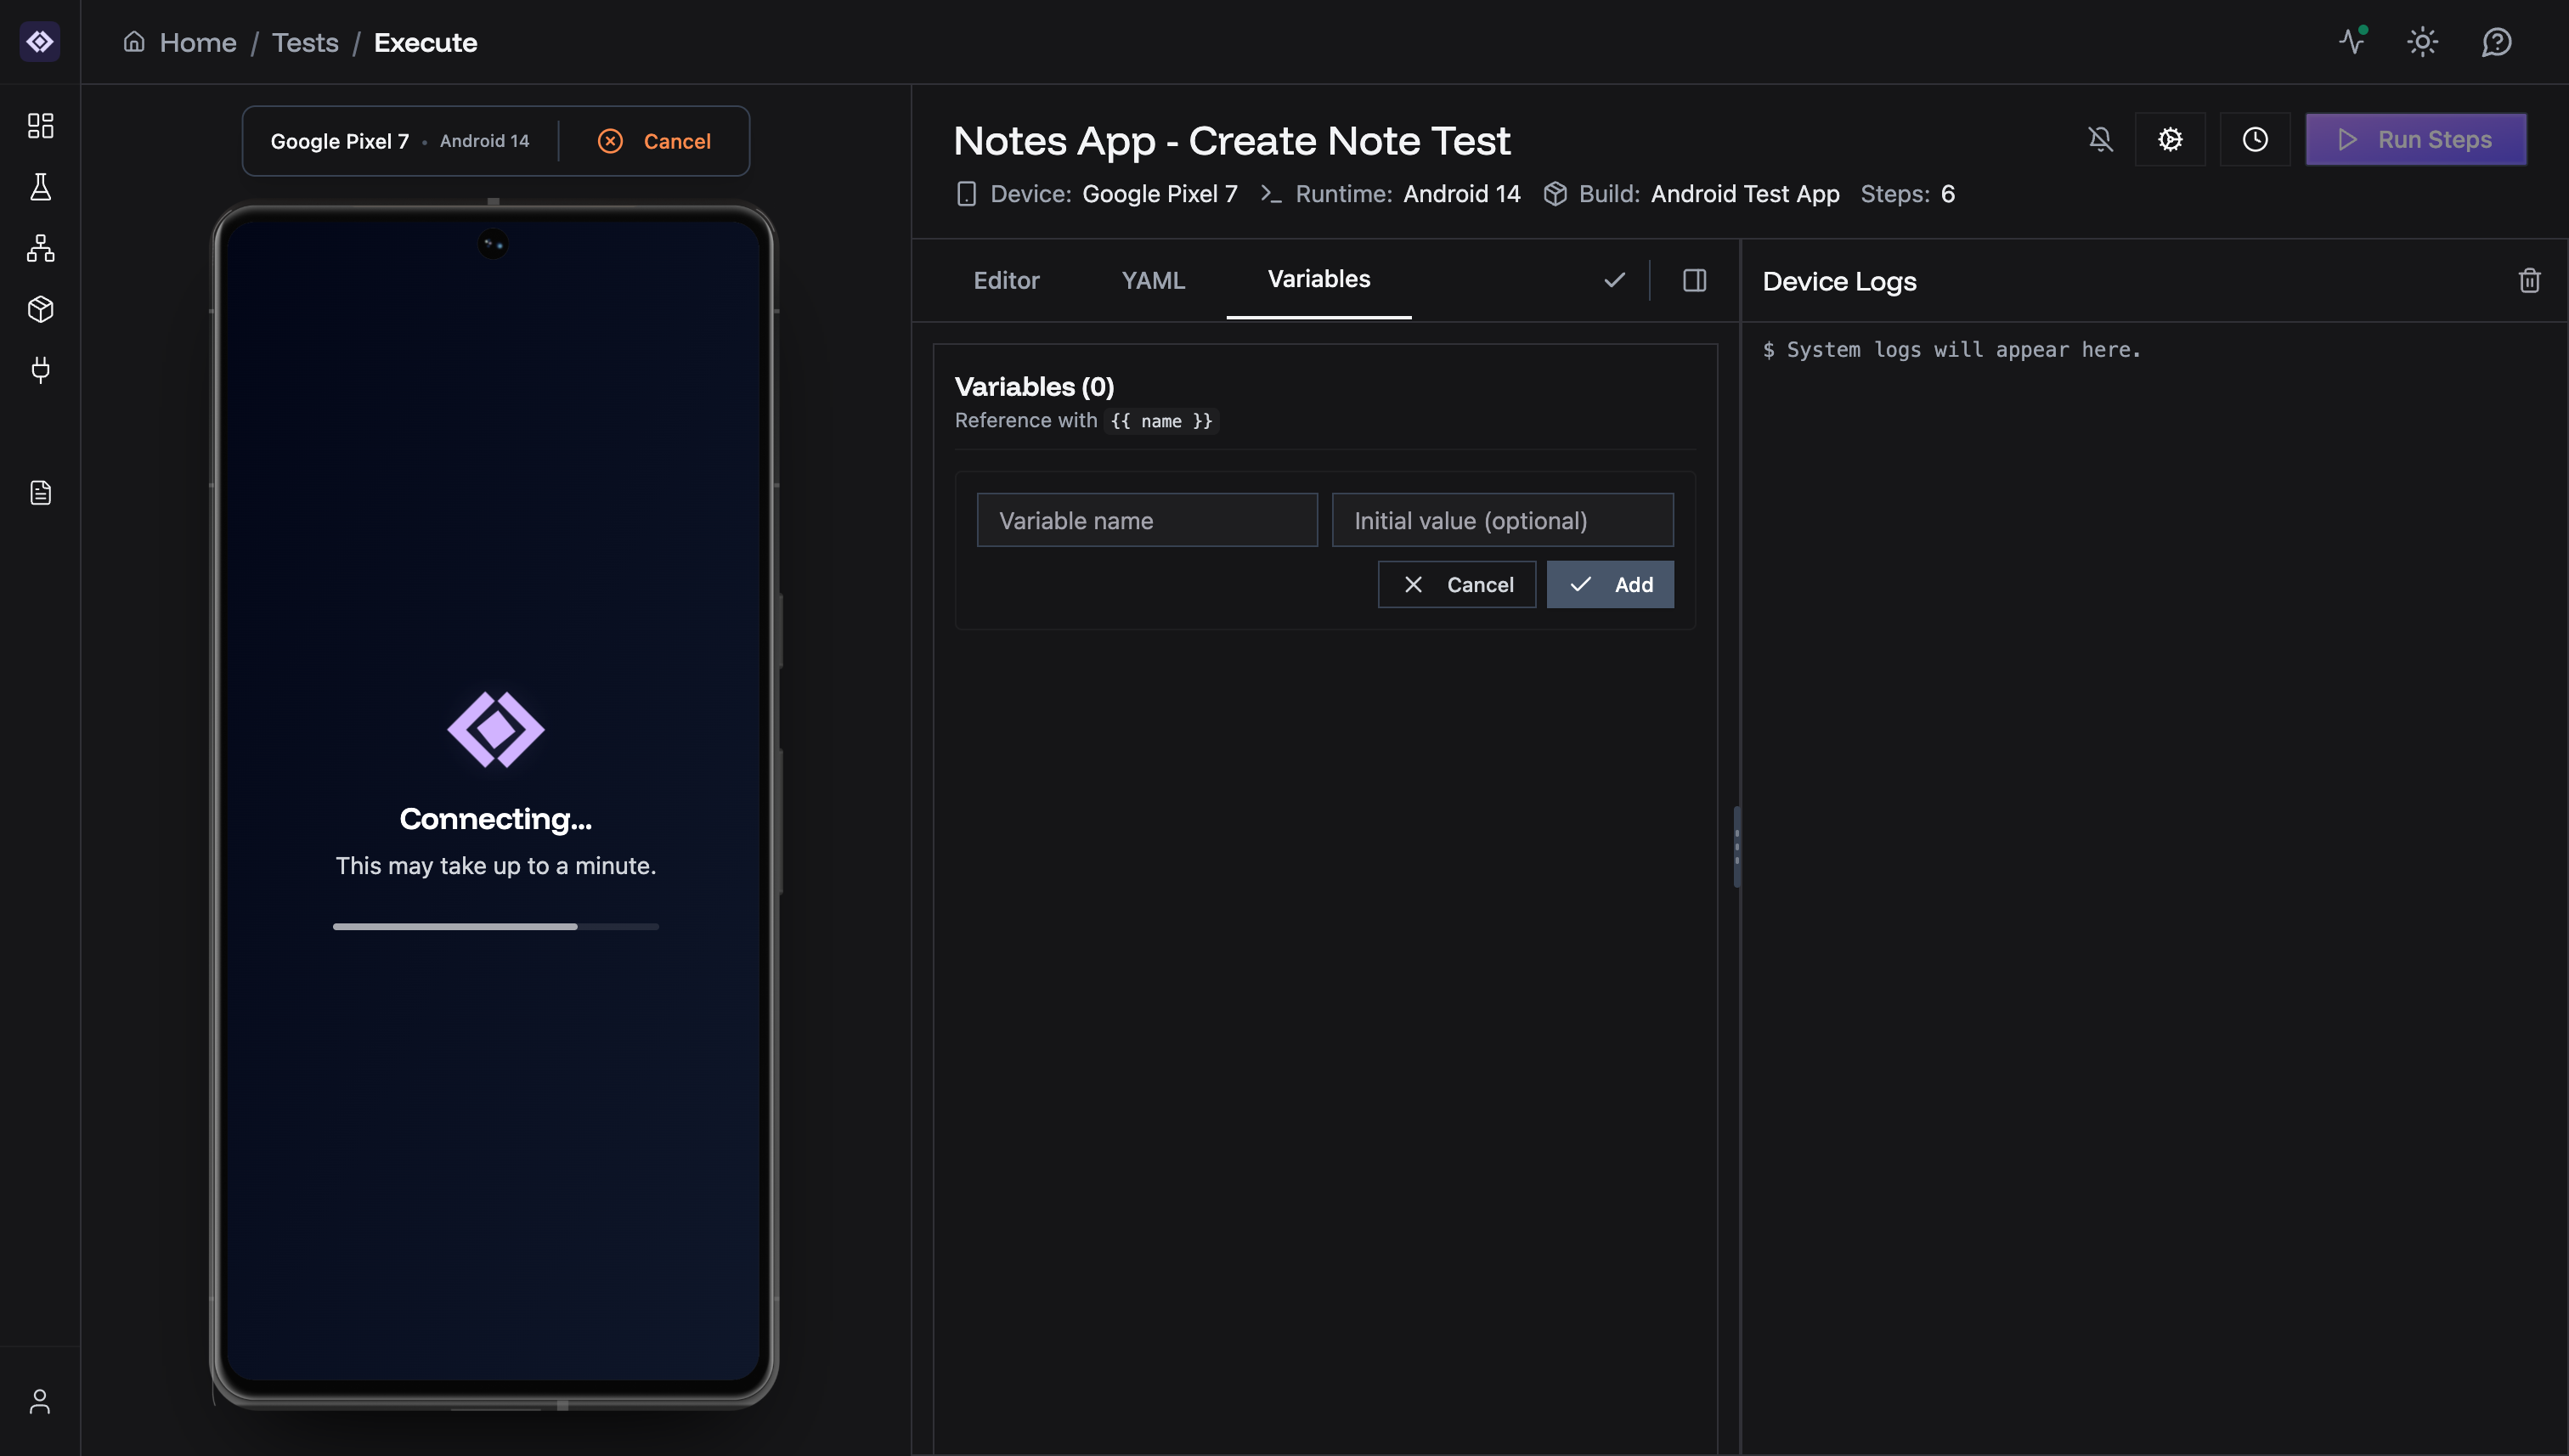
Step 2: Fill Variable Details
- Variable name - Identifier (use lowercase, underscores, no spaces)
- Initial value (optional) - Default value for the variable
- Use descriptive names:
login_email,api_token,user_id - Avoid spaces: Use
user_namenotuser name - Keep it short and memorable
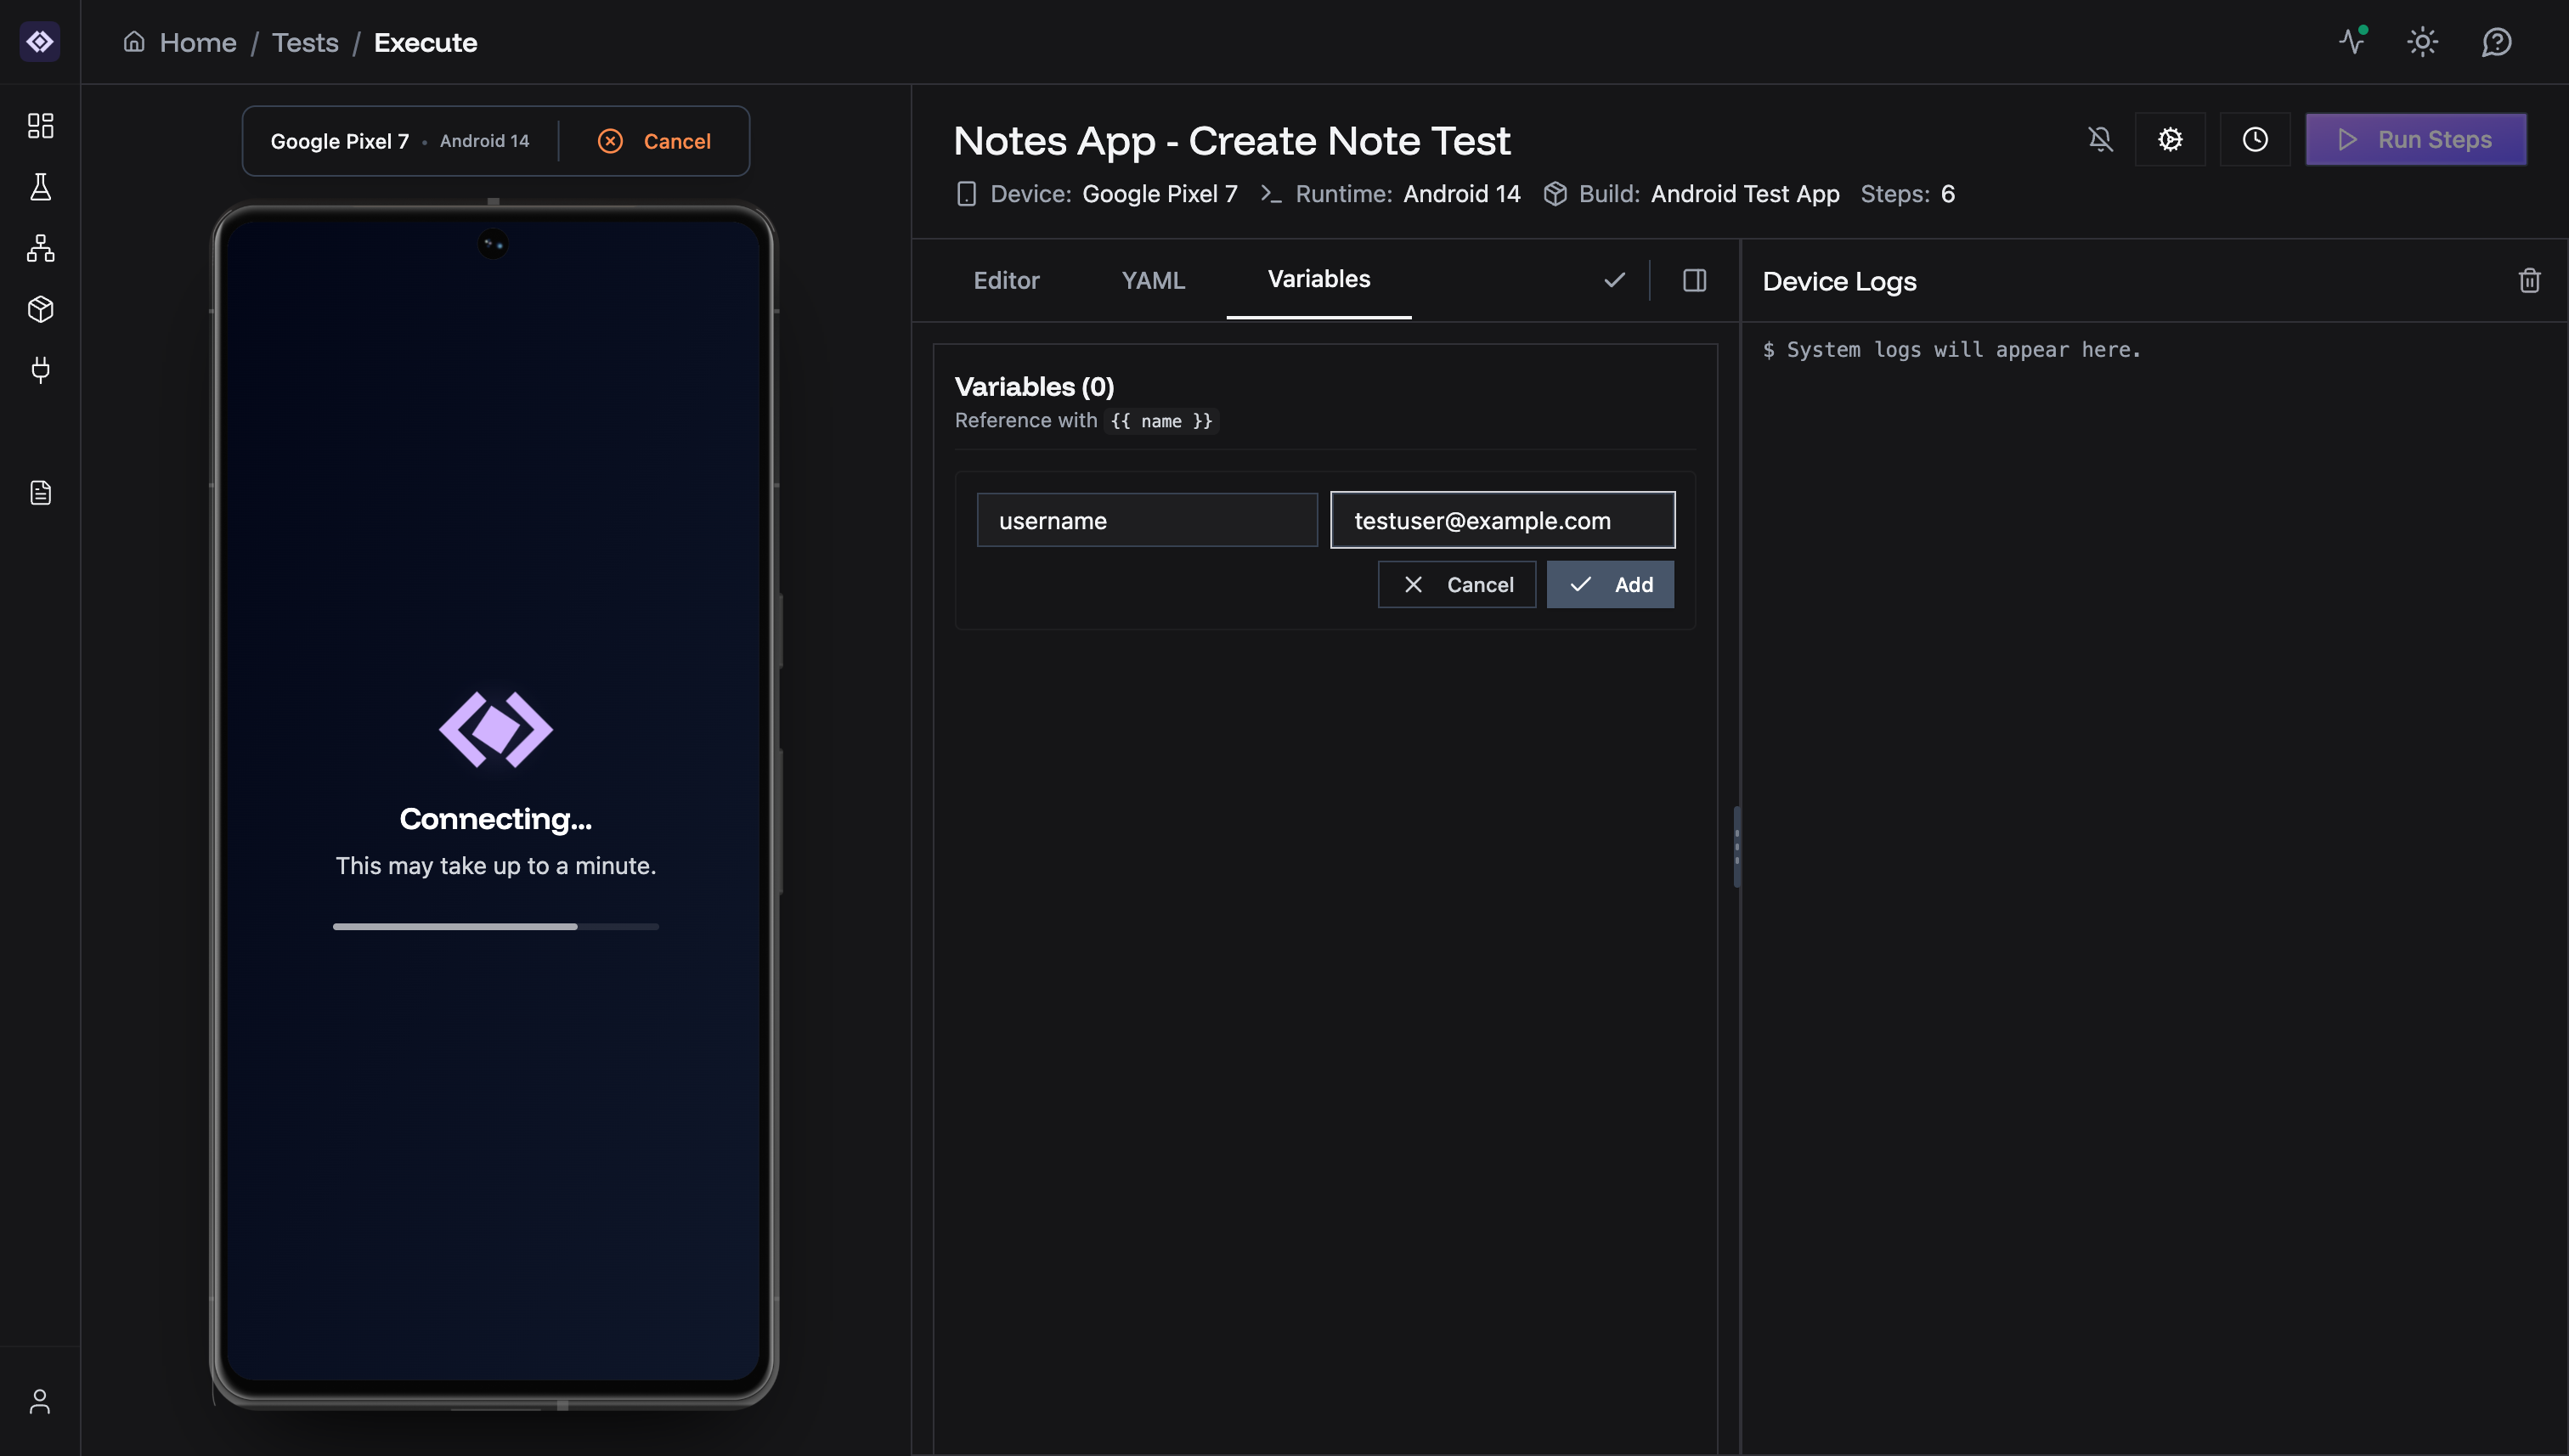
Step 3: Save
Click Add to create the variable.
{{username}}
Managing Multiple Variables
You can create as many variables as needed for your test.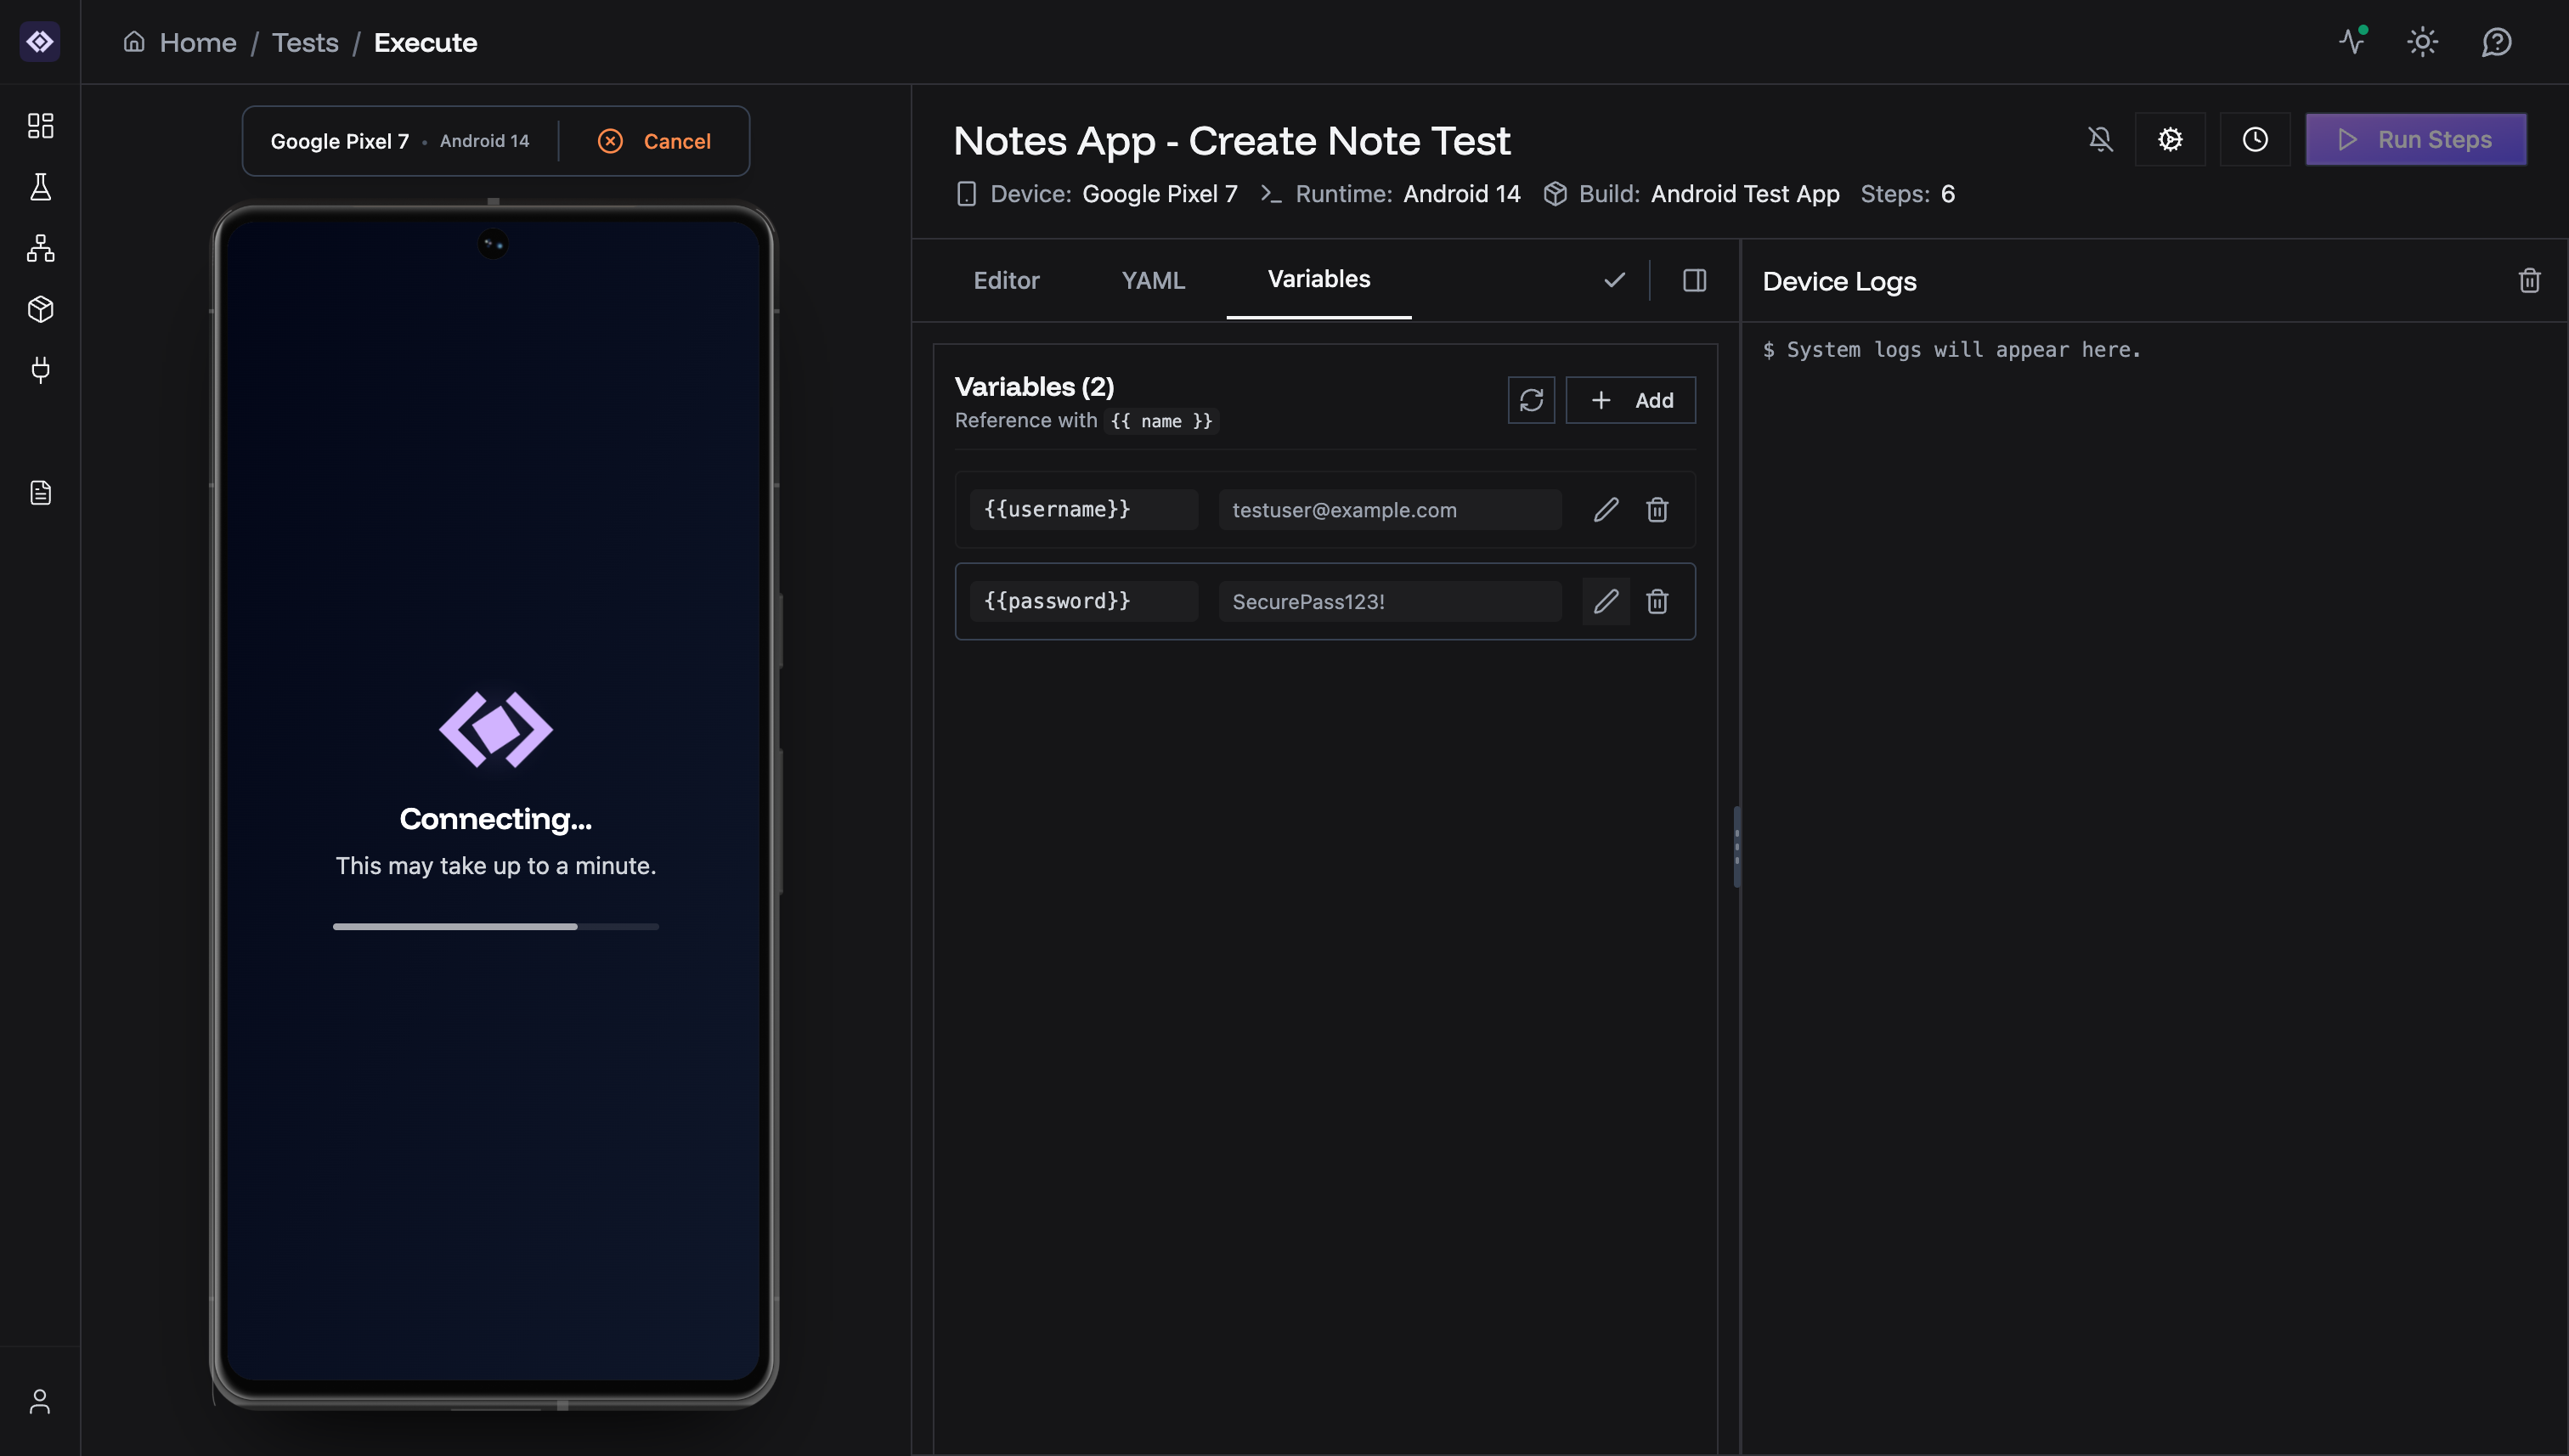
- Reference syntax -
{{variableName}} - Current value - The stored value
- Edit button (pencil icon) - Modify the variable
- Delete button (trash icon) - Remove the variable
Using Variables in Test Steps
In AI Steps (Instruction, Validation, Extraction)
Simply type the variable reference in the instruction: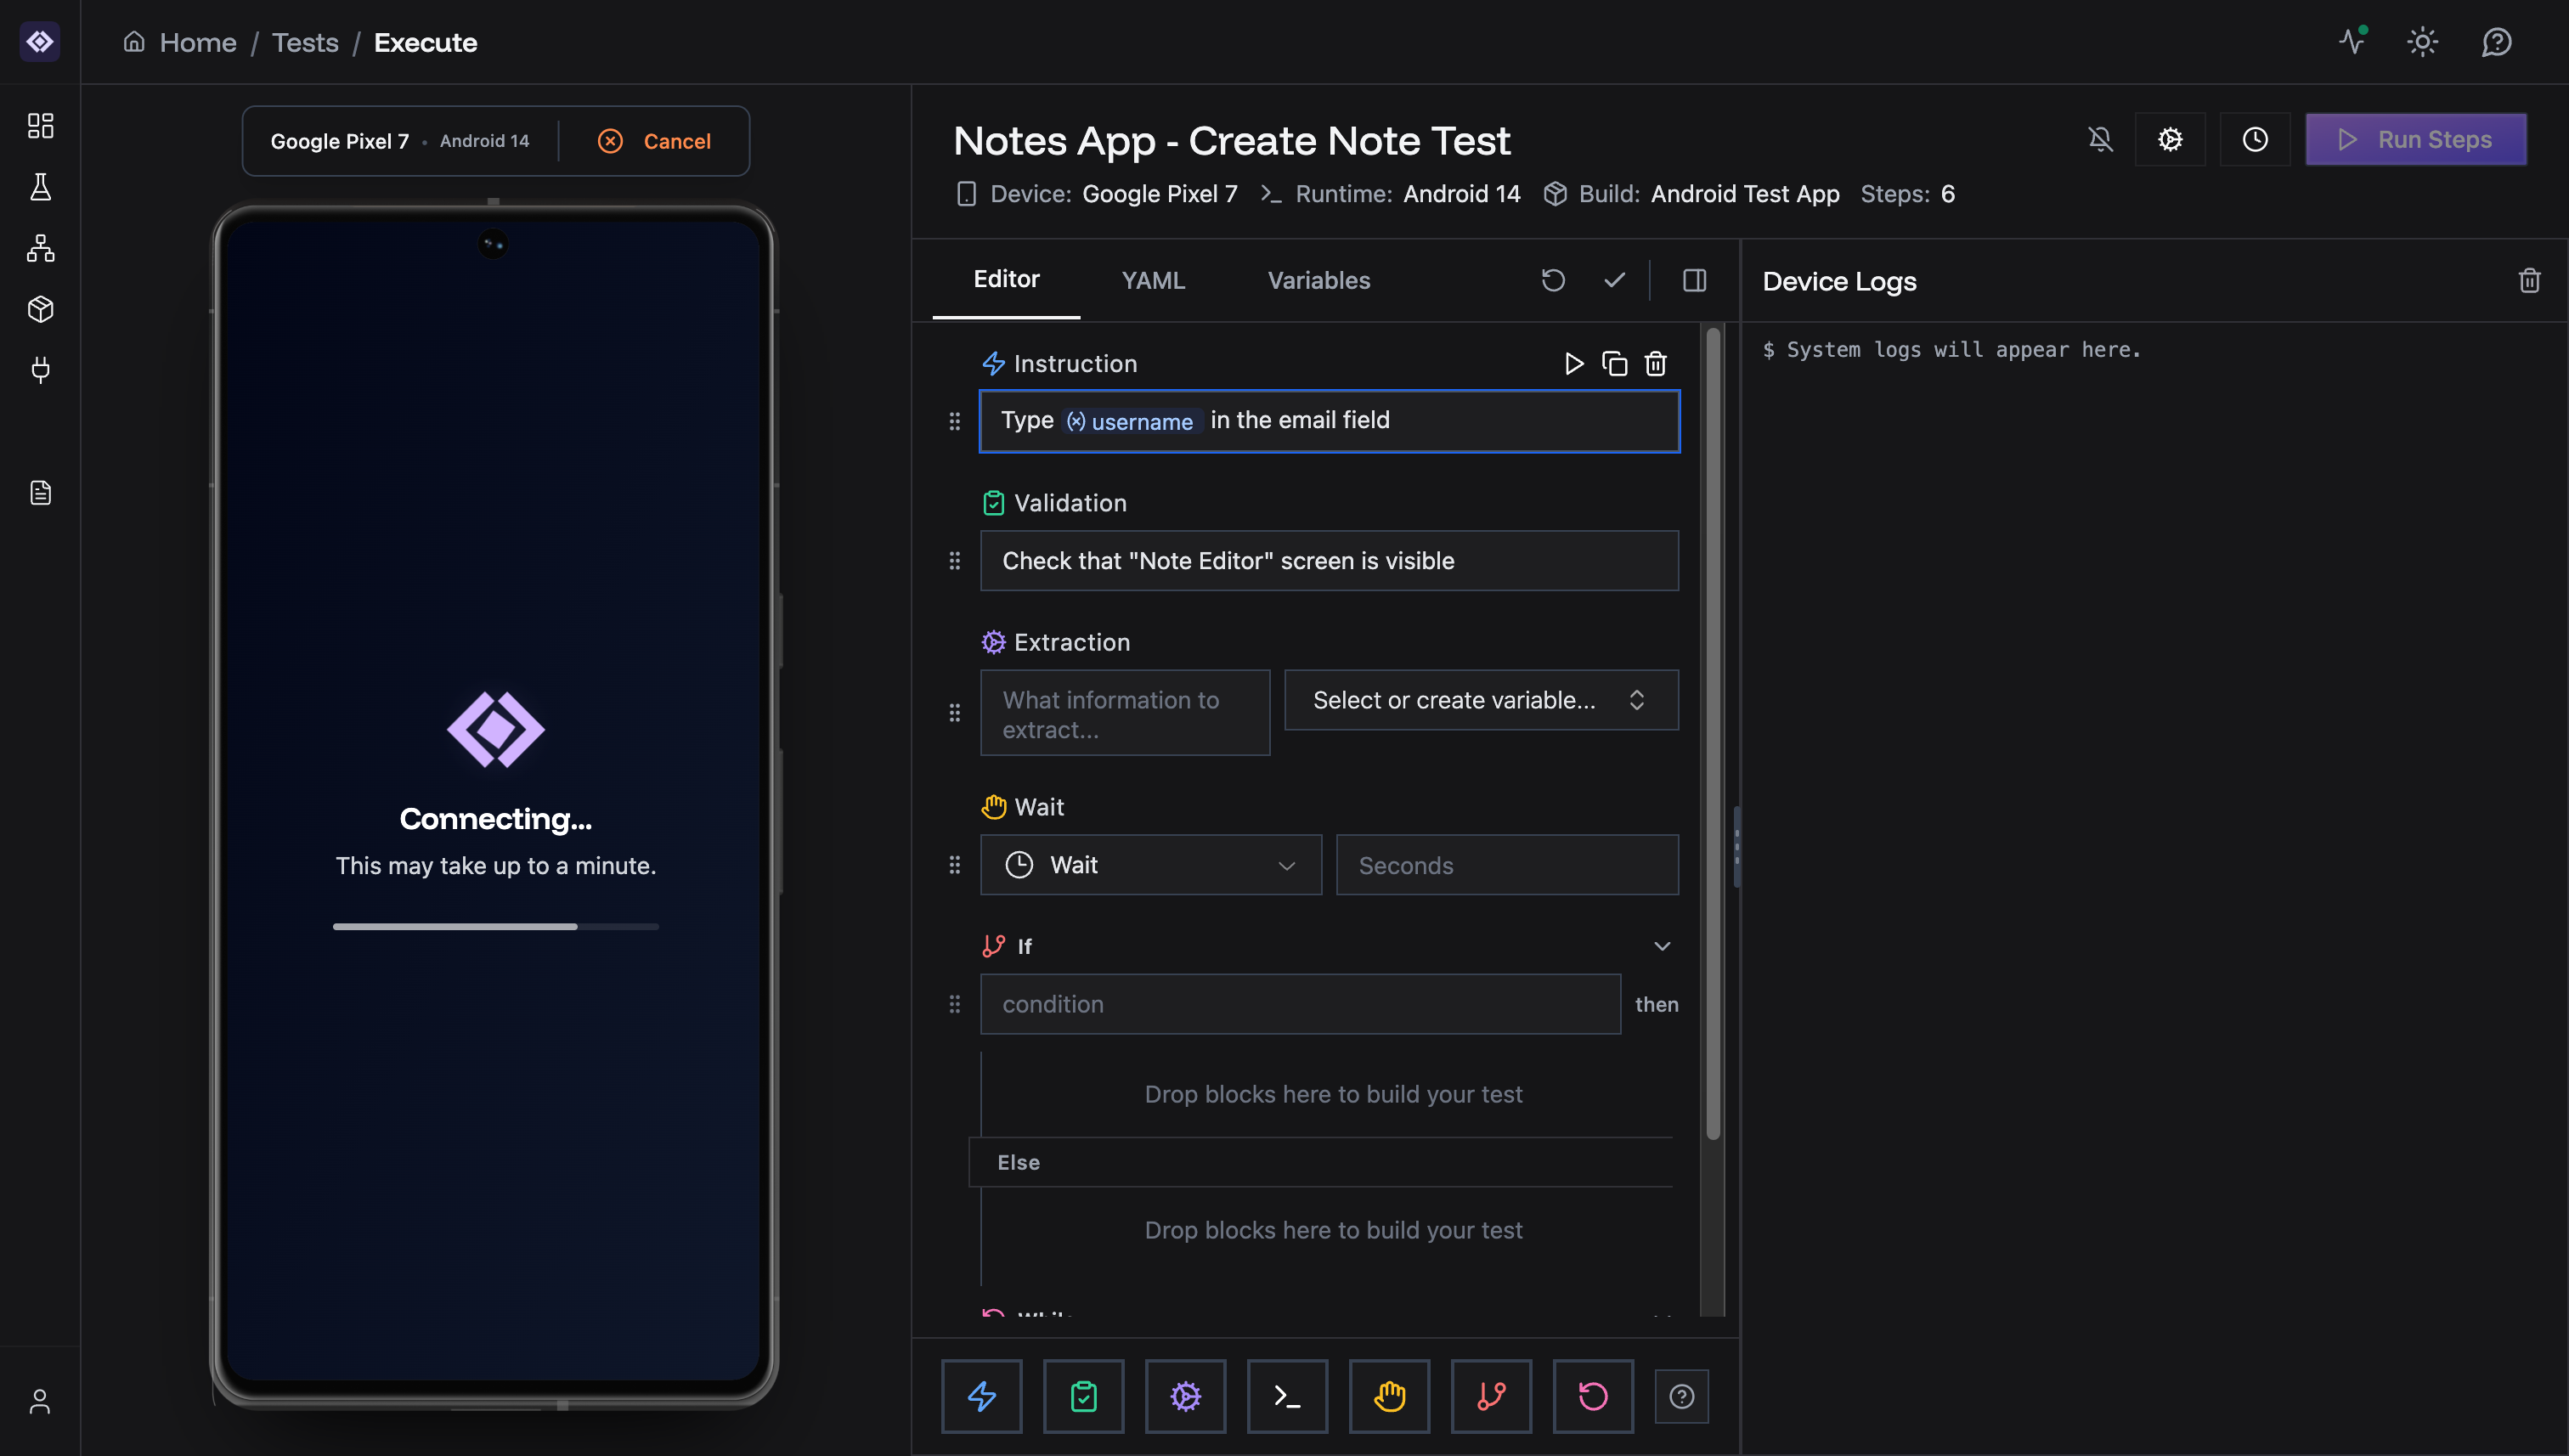
Extraction Steps and Variables
Extraction steps save data from the screen into variables during test execution.Selecting a Variable for Extraction
- Add an Extraction step
- Enter what to extract: “Get the order confirmation number”
- Click the variable dropdown
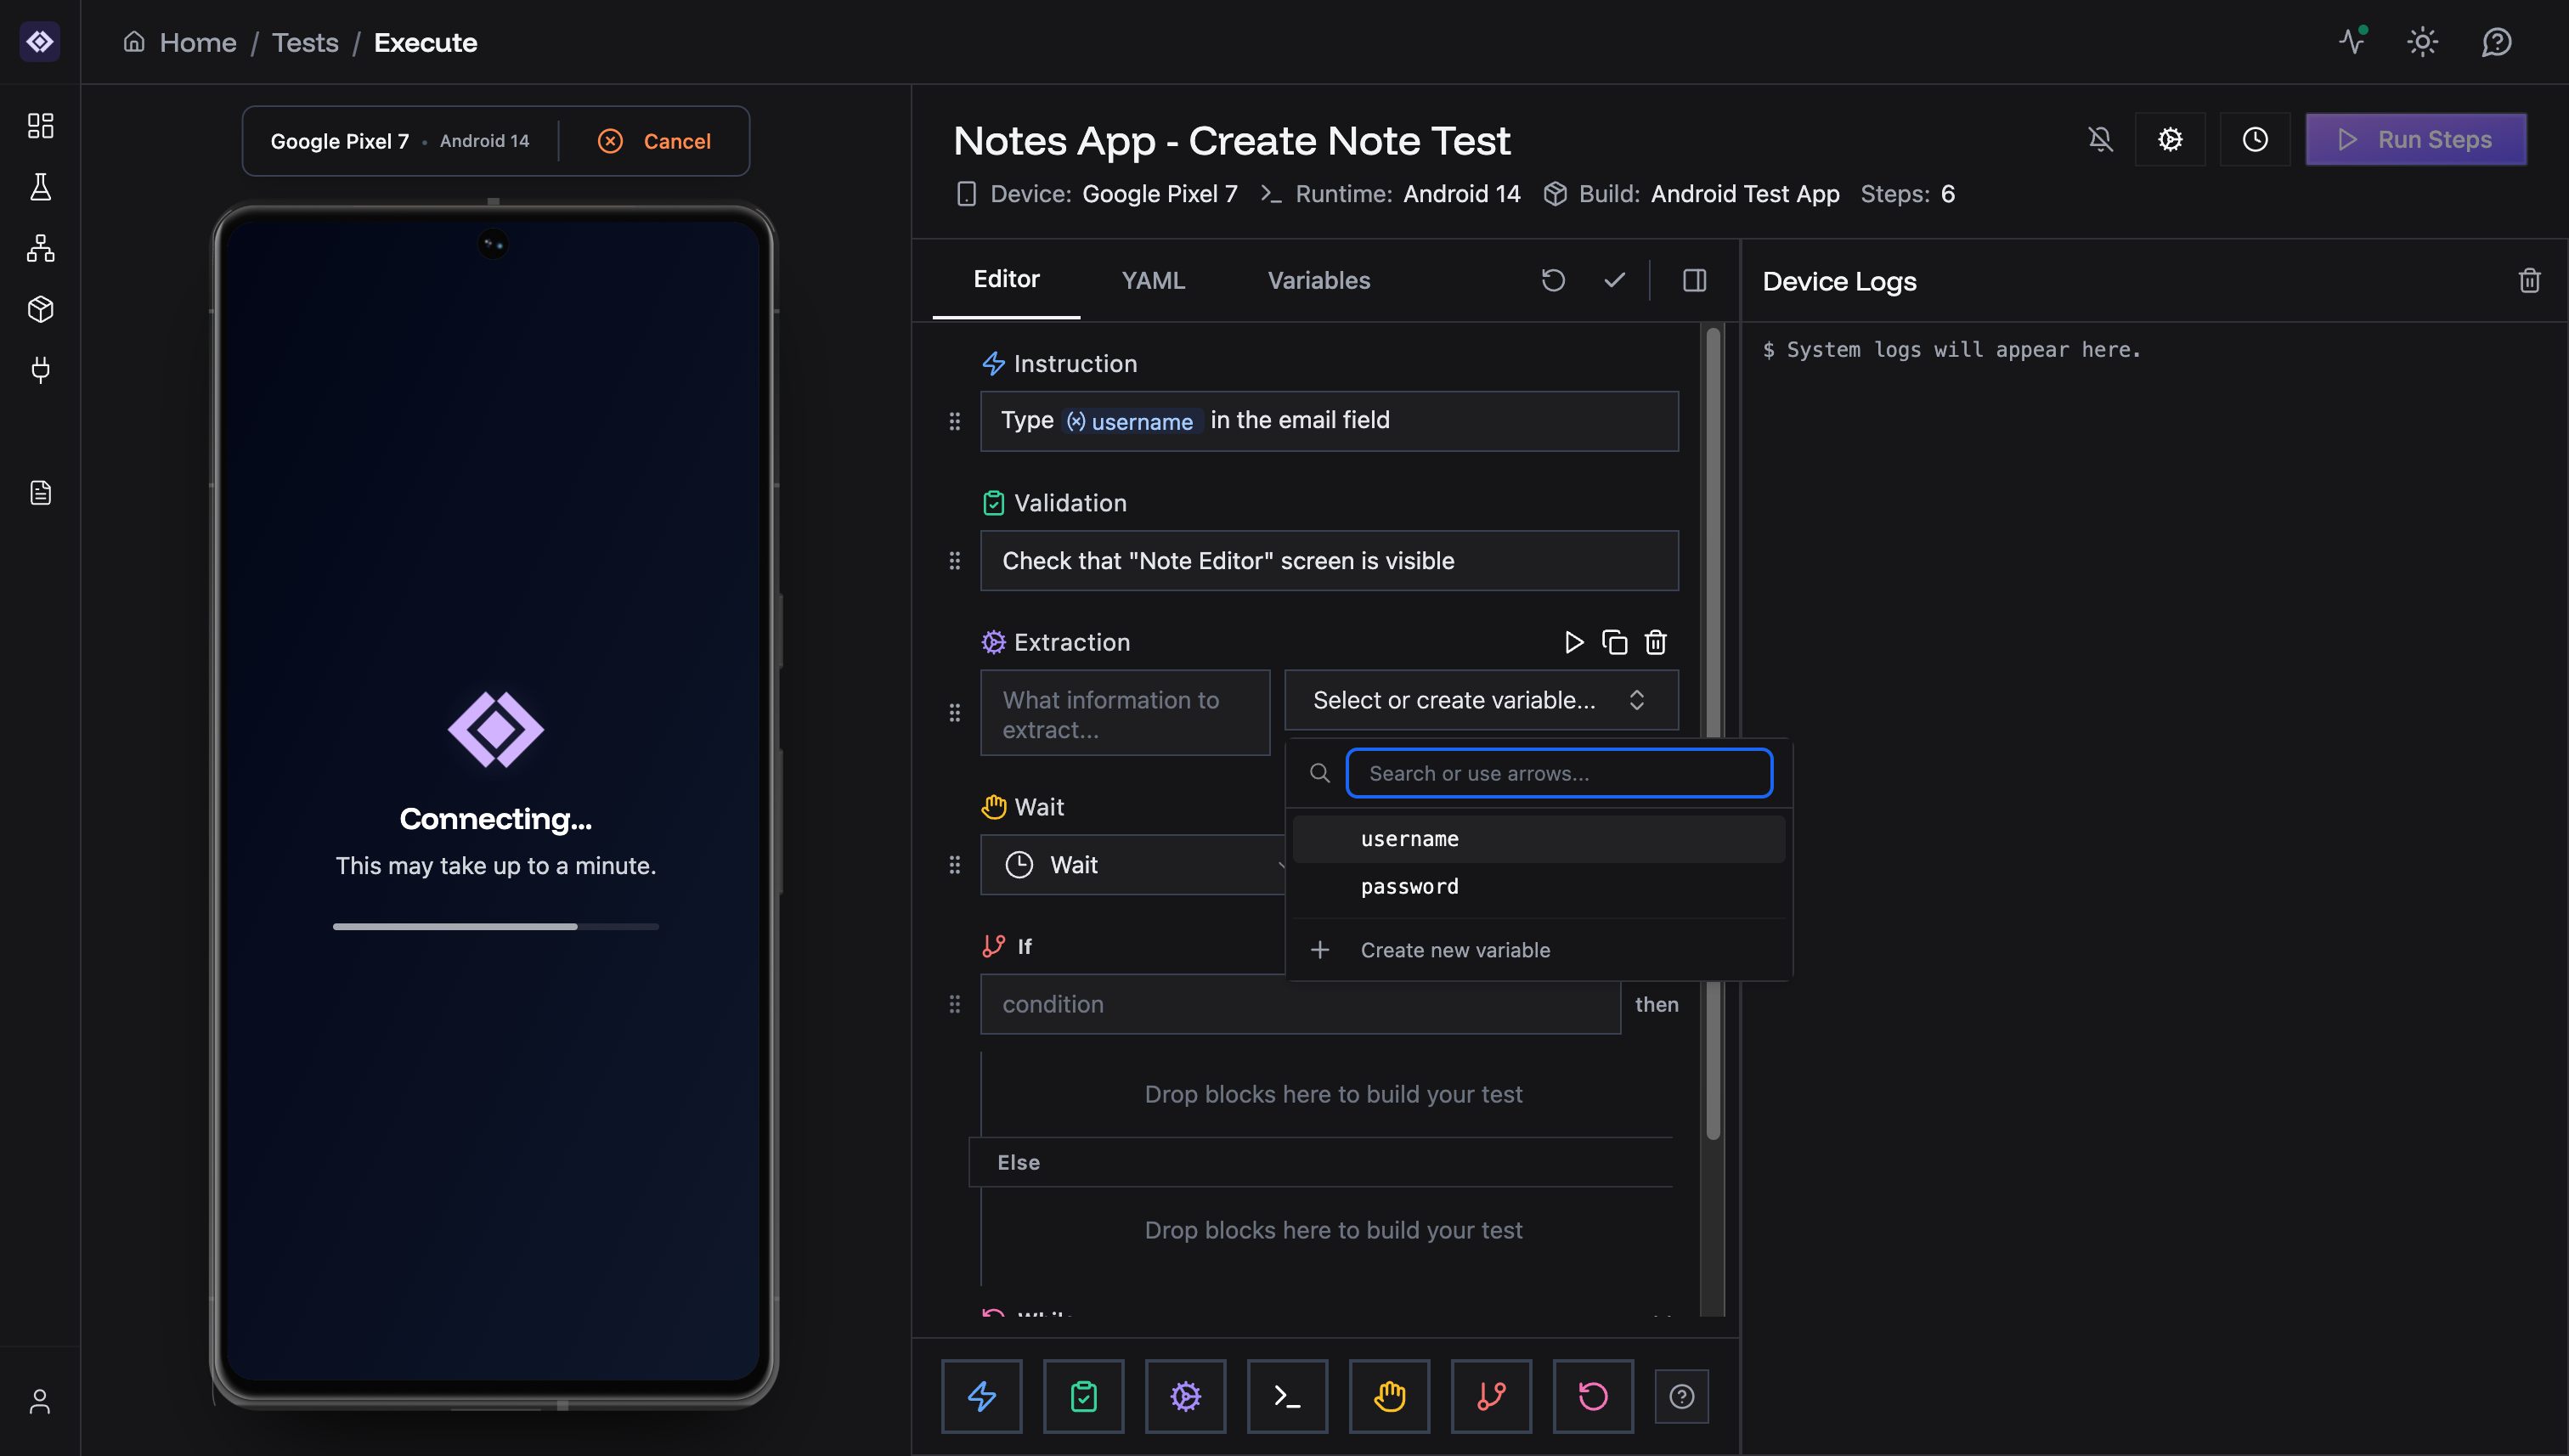
- Existing variables - Select to overwrite
- Create new variable - Define a new variable on-the-fly
Example Extraction Flow
Step 1: ExtractionVariable Behavior
Initial Values
Variables with initial values start with that value when the test begins. Use initial values for:- Static credentials
- Default configuration
- Fallback values
Runtime Updates
Variables can be updated during execution by:- Extraction steps - Save screen data to variables
- Manual steps - Set variables via code execution (advanced)
Variable Scope
- Variables are test-scoped - available throughout the entire test
- All steps can read and use any variable
- Variables persist across control flow (If/Else, While loops)
- Variables reset to initial values on each new test run
Common Patterns
Login Flow
Data Extraction and Reuse
Environment Configuration
Next Steps
- Test Step Types - Learn about Extraction steps
- YAML Export - See how variables appear in YAML format
- Test Creation - Create tests with variables
Need help? Contact [email protected]